Picture 1 - Taymount (thanks to Dick Johston for these 2 photos)
Picture 3 - River Tay from Kinclaven Bridge (thanks to Rab Jeffrey)
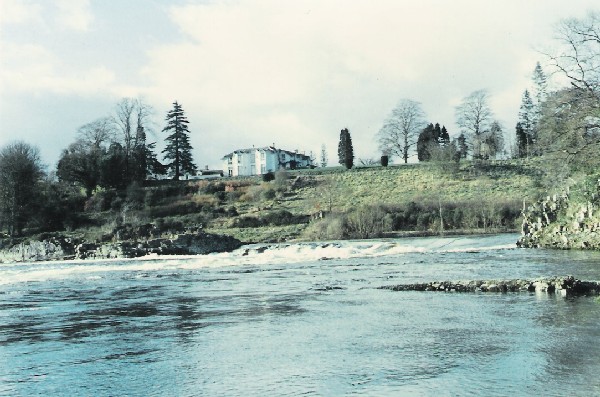
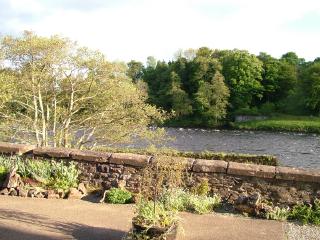
Taymount.
![]()
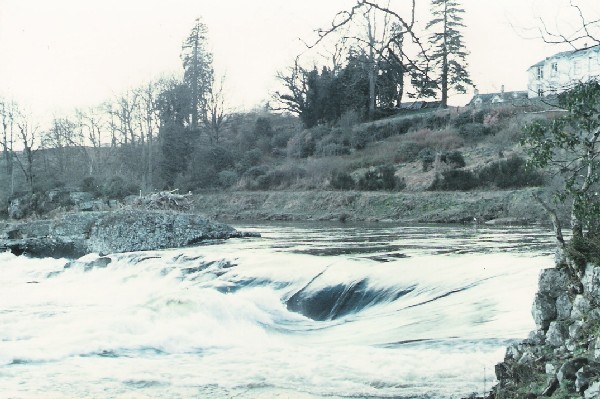
The Kettlies.
![]()
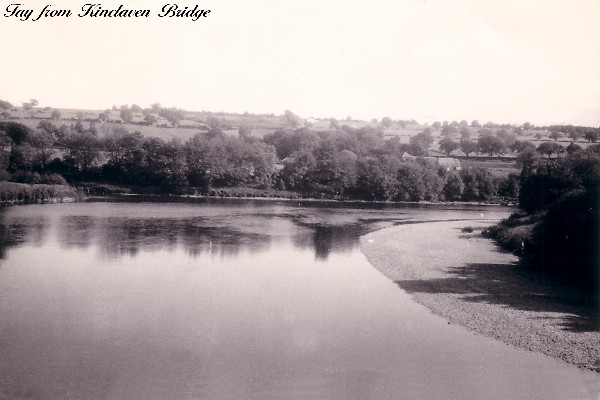
River Tay from Kinclaven Bridge.
![]()
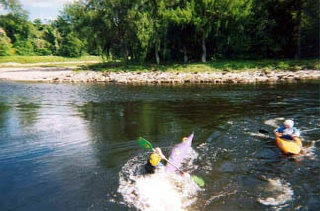
Two shots of the Tay. Canoeists at Campsie Linn and the Back of the Mill
![]()
![]()
![]()